Tutorial: SwiftUI Card Swipe
Published on Feb 28, 2023Get a quick glimpse of how Tiny Currency simplifies currency conversion with up to date rates, multi-currency support, and easy-to-use widgets. Perfect for on-the-go use, our app ensures you're always prepared, no matter where your travels take you.
Introduction
In this tutorial, we will explore how to build a Tinder-like card swipe interface for your app. The tutorial will include a walkthrough on how to build a card view, animations, gestures, and more.
Setting up the Project
There are a lot of resources out there on how to set up a new SwiftUI project, so I will not spend time on that. This tutorial will assume you have basic Swift/SwiftUI/Xcode knowledge.
Building the Card View
Let's get started with building the first layer: the CardView.
struct CardView: View {
    let card: Card

    var body: some View {
        VStack(alignment: .leading, spacing: 0) {
            Color(.systemFill) // This is a simple placeholder for our image
            VStack(alignment: .leading) {
                Text(card.name)
                    .font(.title2)
                    .bold()
                Text(card.description)
                    .font(.subheadline)
            }
            .lineLimit(1) // Limiting our texts to 1 line makes for a nice even UI
            .padding()
        }
        .background(Color(.secondarySystemBackground))
        .cornerRadius(12)
        .padding()
    }
}
As you can see, we are using a Card object here that we have not yet defined. Let's define a simple one as follows:
struct Card: Identifiable, Equatable {
    let id: String
    let imageURL: URL
    let name: String
    let description: String
}
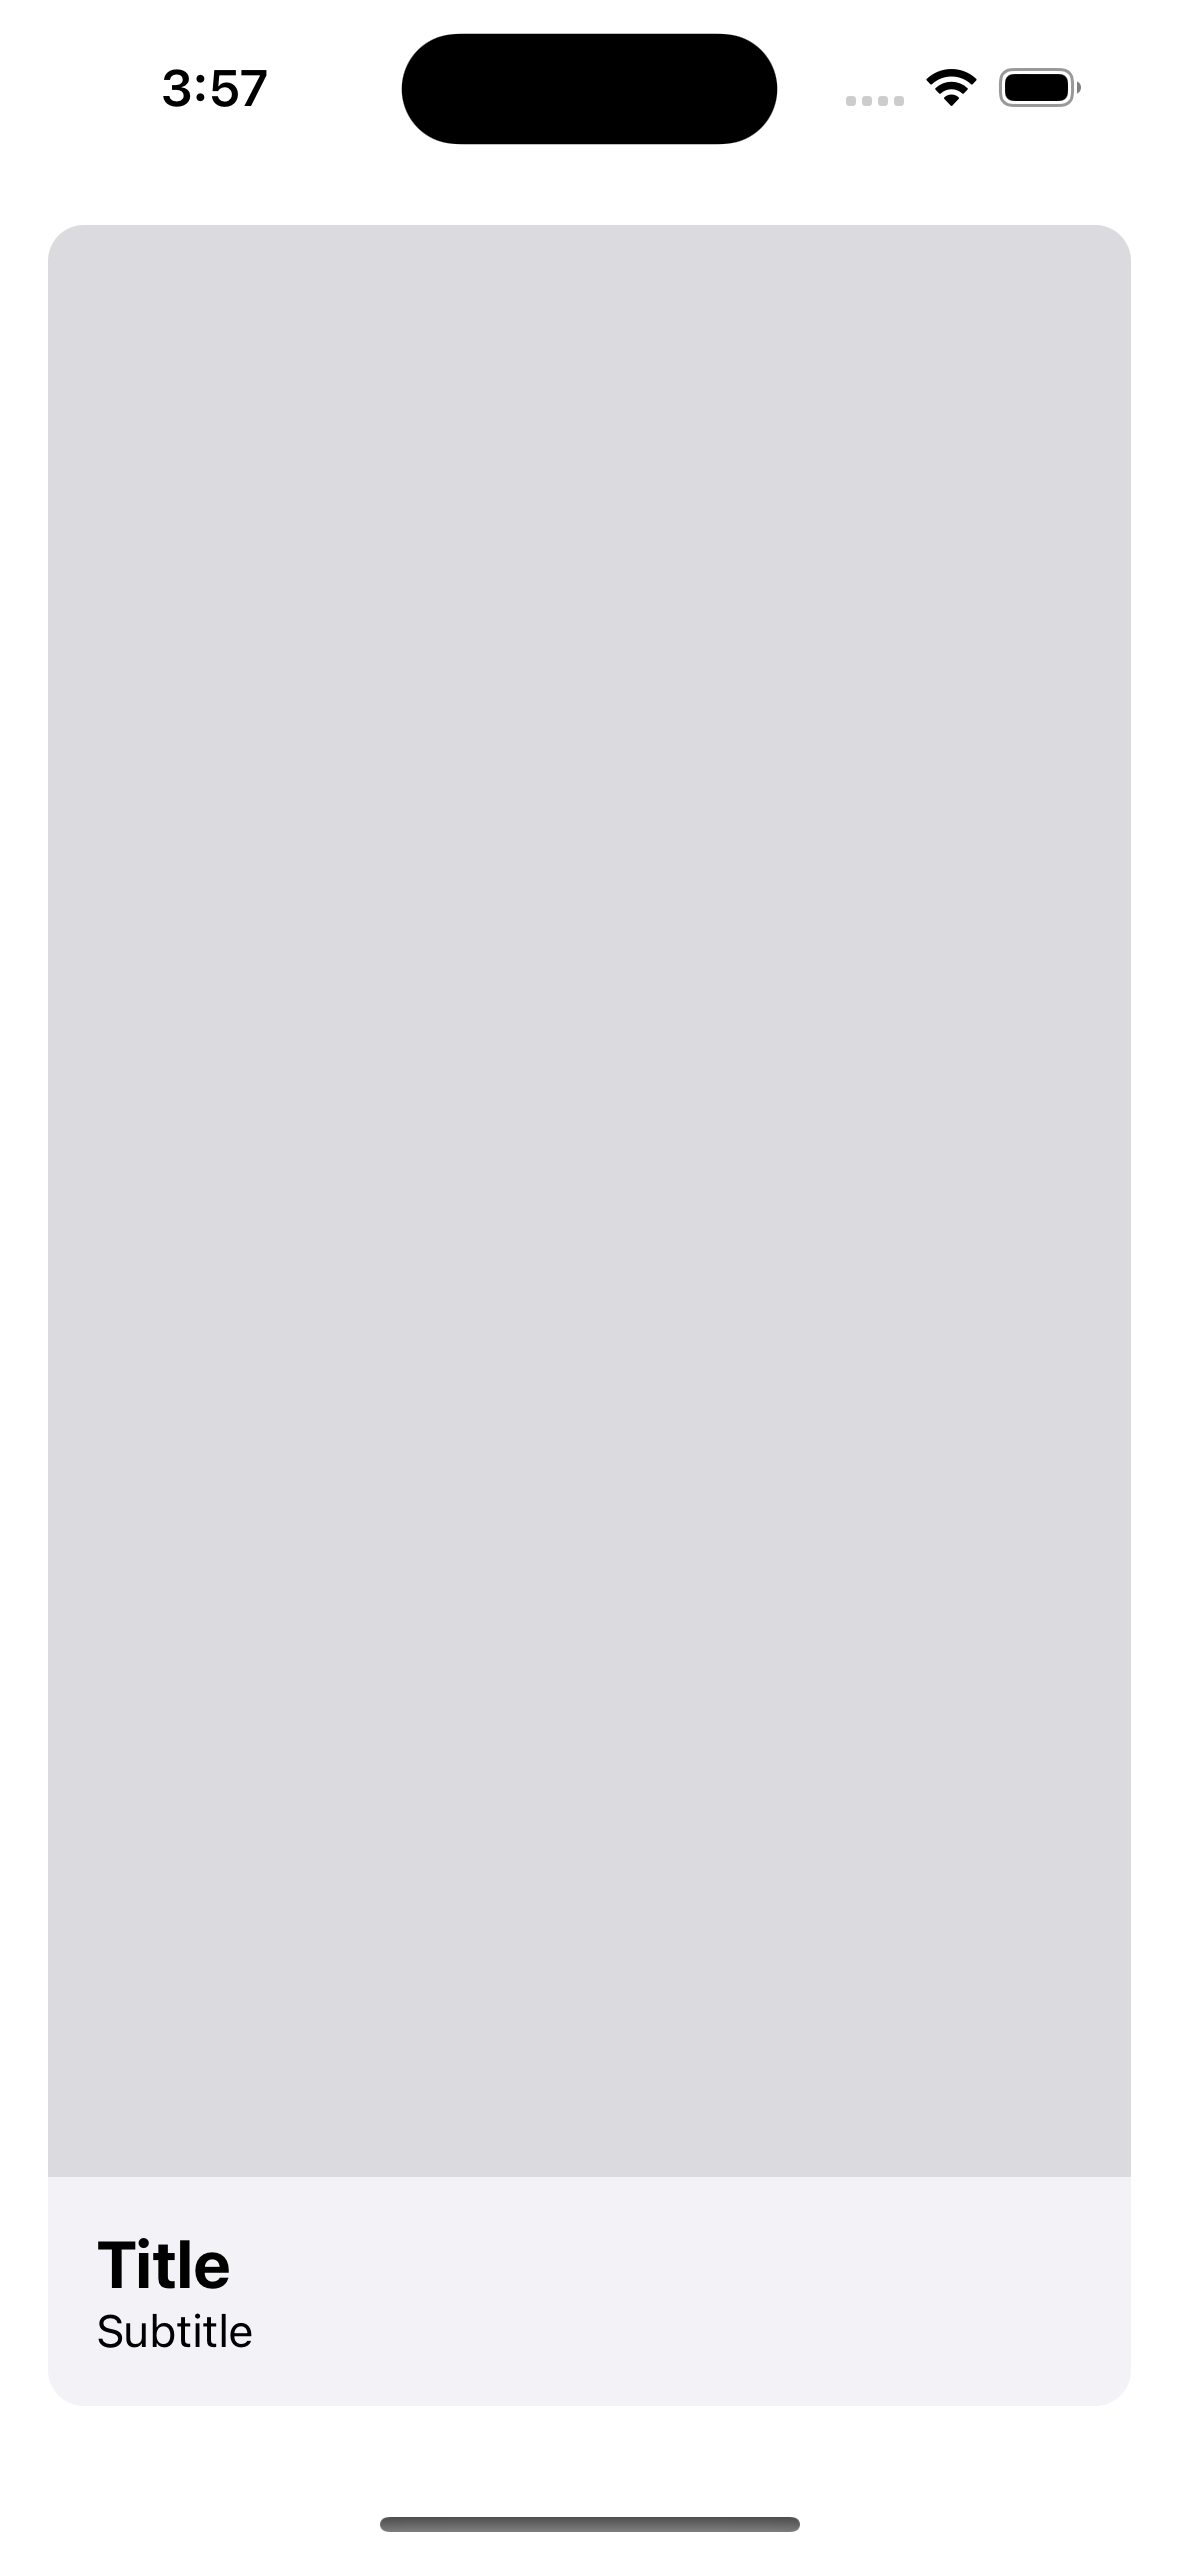
Here we have a simple CardView, if we add a SwiftUI preview, we get the following:

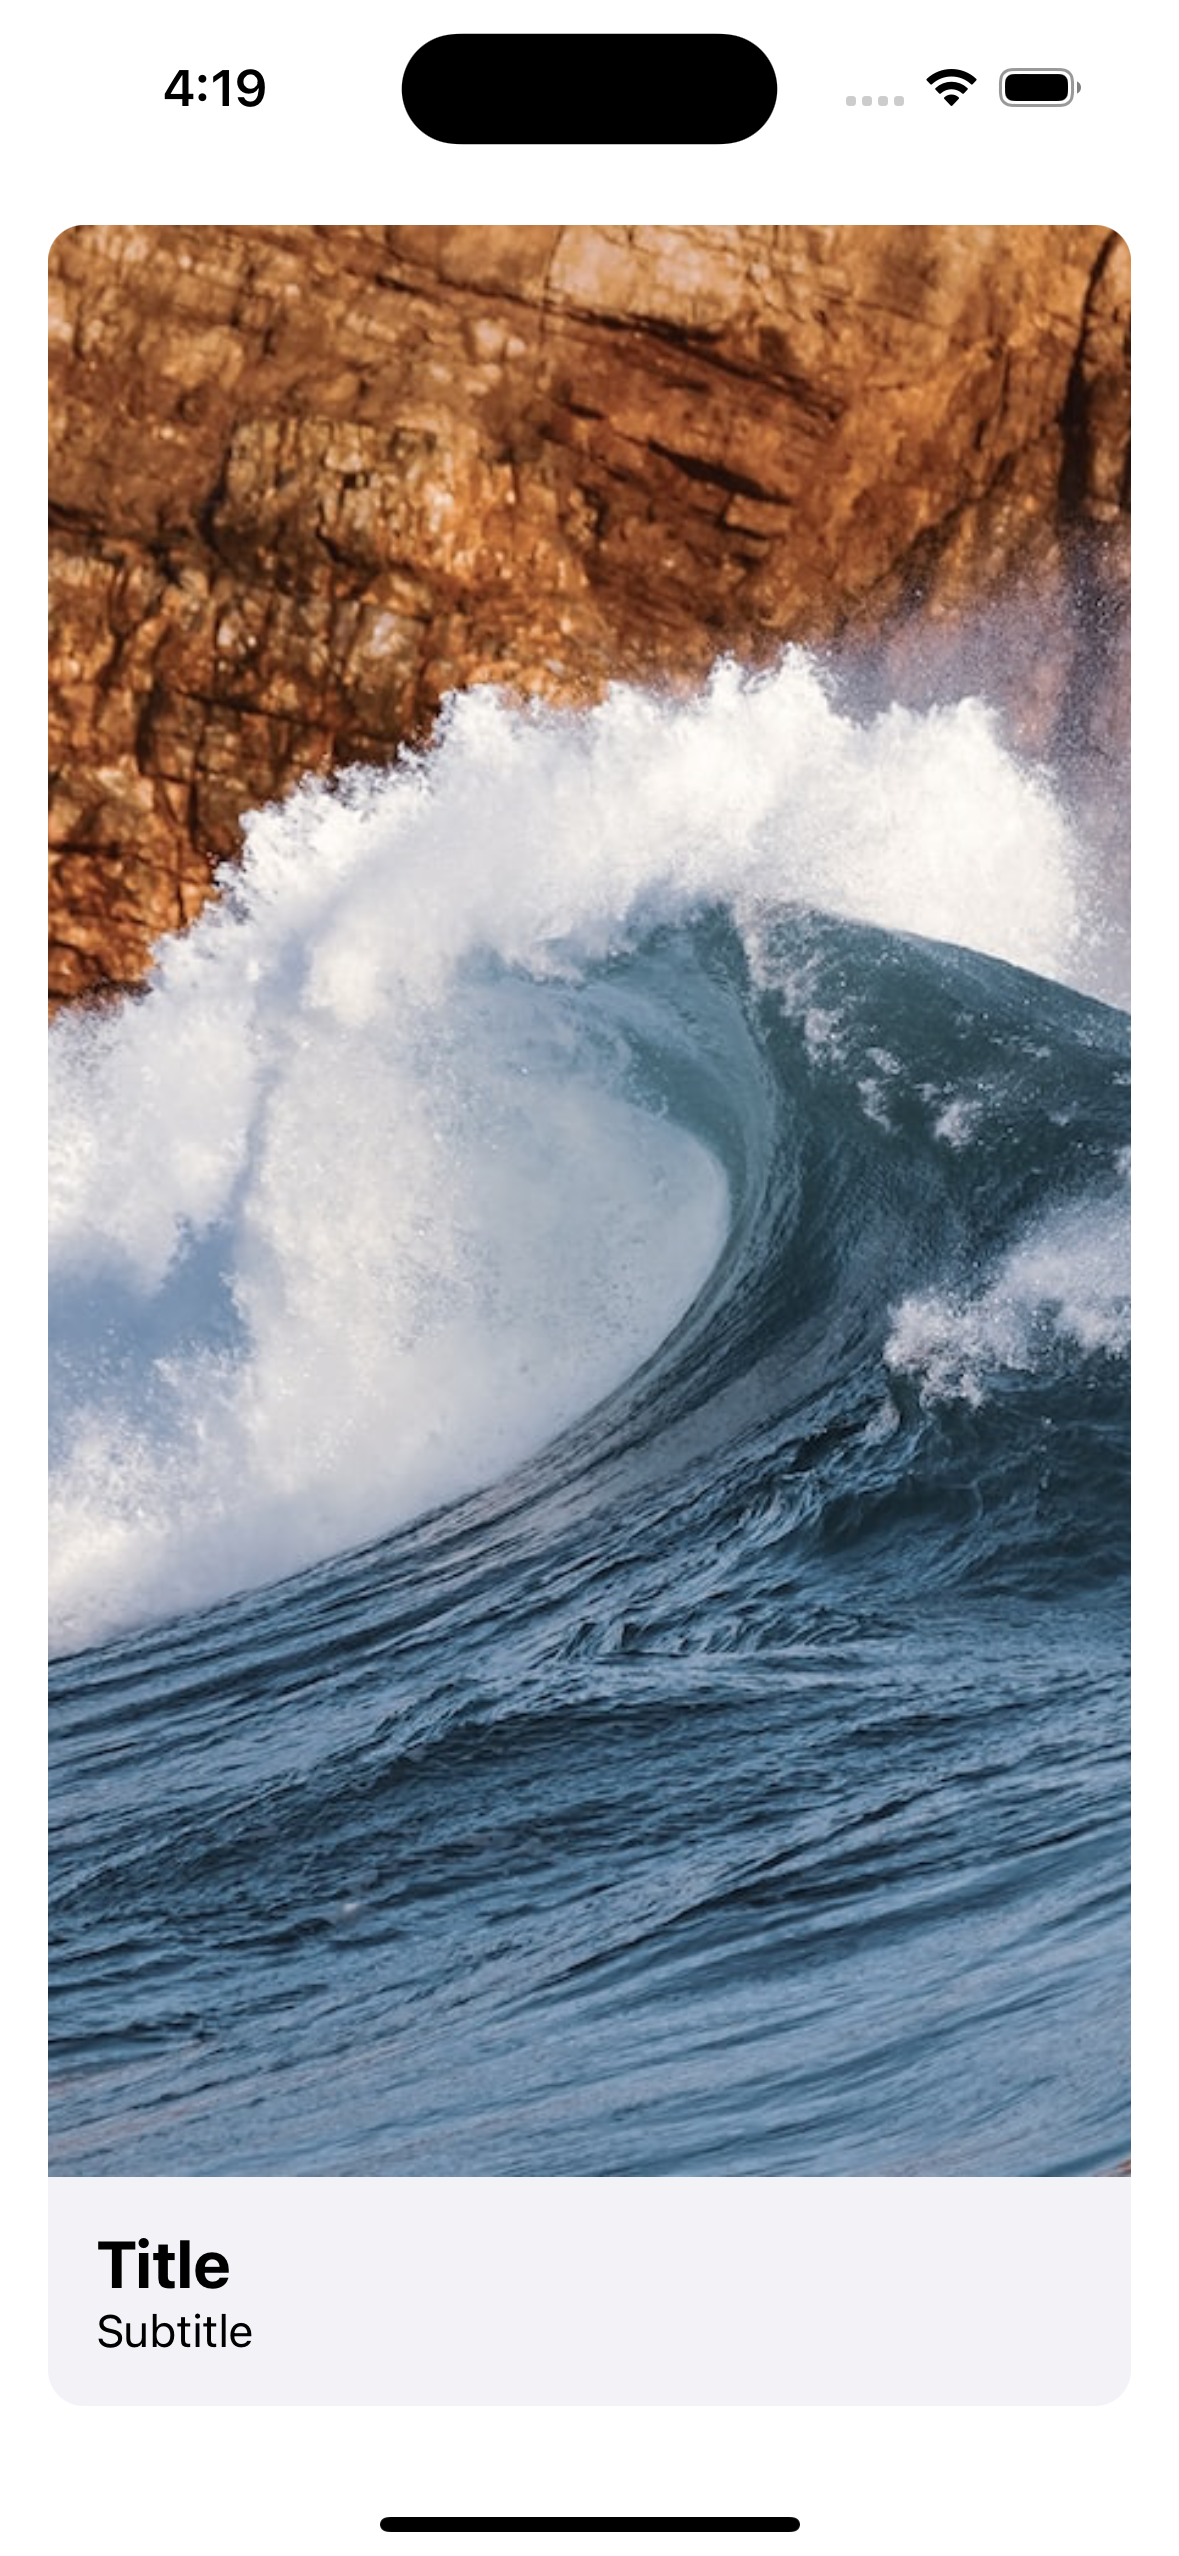
Let's keep going, we need to add the ability to load an image asynchronously.
Thankfully, Apple provides this for us with AsyncImage
struct CardView: View {
    let card: Card

    var body: some View {
        VStack(alignment: .leading, spacing: 0) {
            Color(.systemFill)
                .overlay {
                    AsyncImage(url: card.imageURL) { image in
                        image.resizable().aspectRatio(contentMode: .fill)
                    } placeholder: {
                        ProgressView()
                    }
                }
                // We add AsyncImage here as an overlay to get around
                // SwiftUI sizing issues (no need for GeometryReader)

            VStack(alignment: .leading) {
                Text(card.name)
                    .font(.title2)
                    .bold()
                Text(card.description)
                    .font(.subheadline)
            }
            .lineLimit(1) // Limiting our texts to 1 line makes for a nice even UI
            .padding()
        }
        .background(Color(.secondarySystemBackground))
        .cornerRadius(12)
        .padding()
    }
}
 |  |
So far so good!
Let's go ahead and build the parent view now which will allow us to add gestures to drag the card around.
struct SwipeView: View {
    let cards: [Card]

    var body: some View {
        VStack {
            Text("Card Swipe")
                .font(.largeTitle)
                .bold()
                .padding()
            if cards.isEmpty {
                Spacer()
                Text("No more cards")
                Spacer()
            } else {
                ZStack {
                    ForEach(cards) { card in
                        CardView(card: card)
                    }
                }
            }
        }
    }
}
Great! So far we now have a parent view, but the view looks almost identical to what we previously had. Once we build the ability to drag the CardView we will see all the other hidden cards underneath.
Creating the Swipe Gesture
Creating gestures in SwiftUI is easy. To create a gesture that allows us to drag the card around and fling it, let's use a SwiftUI DragGesture
Add the following inside the SwipeView:
struct SwipeView: View {
    let cards: [Card]

    @State private var translation: CGSize = .zero

    var body: some View { ... }

    var dragGesture: some Gesture {
        DragGesture()
            .onChanged { value in
                withAnimation {
                    translation = value.translation
                }
            }
            .onEnded { value in
                withAnimation {
                    if translation.width > .translationThresholdRight {
                        if value.predictedEndLocation.x > value.location.x + .translationEnd {
                            translation = value.predictedEndTranslation
                        } else {
                            translation = CGSize(width: translation.width + .translationEnd, height: translation.height)
                        }
                    } else if translation.width < .translationThresholdLeft {
                        if value.predictedEndLocation.x < value.location.x - .translationEnd {
                            translation = value.predictedEndTranslation
                        } else {
                            translation = CGSize(width: translation.width - .translationEnd, height: translation.height)
                        }
                    } else {
                        translation = .zero
                    }
                }
            }
    }
As you can see there is quite a bit of work happening within the onEnded. I've added some work in here to use the predictedEndTranslation to move the card completely out of view when you fling it. Basically, this gives the feel that you can slowly drag and release over a threshold, or fling it quickly away. The threshold, described as .translationThresholdLeft and .translationThresholdRight is whatever value you would like. I've made these 120:
extension CGFloat {
    static let translationThresholdRight: CGFloat = 120
    static let translationThresholdLeft: CGFloat = -120
    static let translationEnd: CGFloat = 300
}
Finally, let's add the new gesture to our CardView:
struct SwipeView: View {
    let cards: [Card]

    @State private var translation: CGSize = .zero

    var body: some View {
        VStack {
            Text("Card Swipe")
                .font(.largeTitle)
                .bold()
                .padding()
            if cards.isEmpty {
                Spacer()
                Text("No more cards")
                Spacer()
            } else {
                ZStack {
                    ForEach(cards) { card in
                        CardView(card: card)
                            .gesture(dragGesture)
                            .offset(translation) // Don't forget to add our new translation as an offset to the card
                    }
                }
            }
        }
    }

    var dragGesture: some Gesture { ... }
}
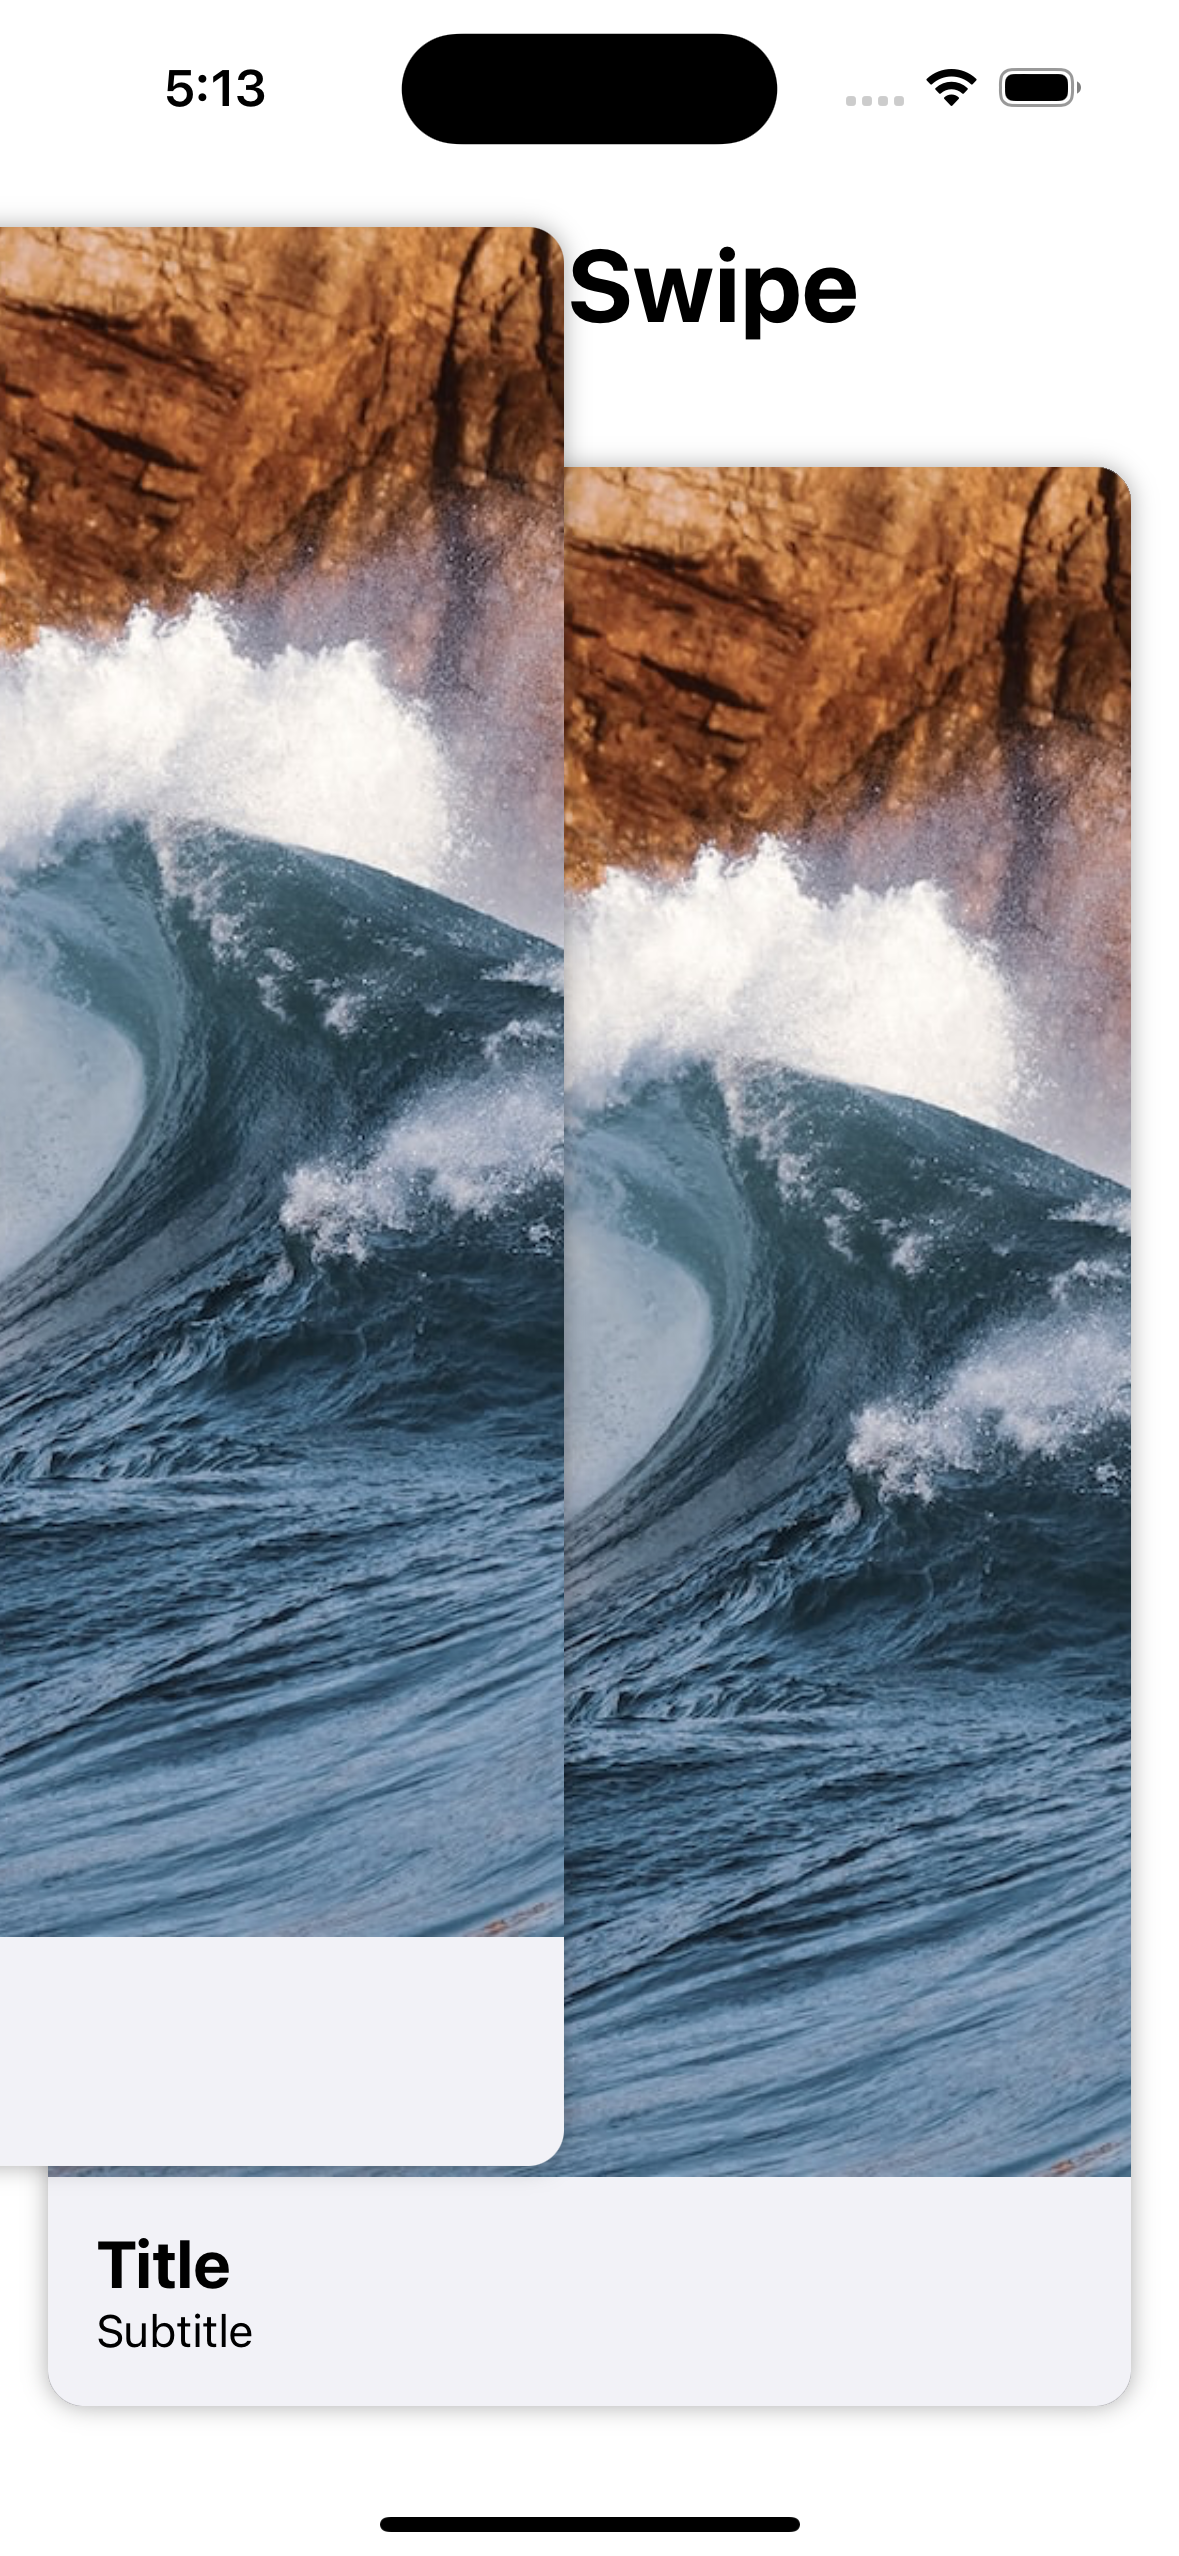
Great! Our CardView is now draggable, and when you let go past a certain threshold, it falls away!
There is only one problem, all the cards are being dragged at the same time. To fix this, we must separate the drag gesture, and create a new drag gesture for each Card.
We can fix this by keeping track of the card currently being dragged:
struct SwipeView: View {
    let cards: [Card]

    @State private var translation = CGSize.zero
    @State private var draggingCard: Card?

    var body: some View {
        VStack {
            ...
            ZStack {
                ForEach(cards) { card in
                    CardView(card: card)
                        .offset(card == draggingCard ? translation : .zero)
                        .gesture(dragGesture(for: card))
                        // Here we now change to the new gesture
                        // And we only offset the current card
                }
            }
        }
    }

    func dragGesture(for card: Card) -> some Gesture {
        DragGesture()
            .onChanged { value in
                withAnimation {
                    if draggingCard != card {
                        draggingCard = card
                    }
                    translation = value.translation
                }
            }
            .onEnded { value in
                withAnimation {
                    if translation.width > .translationThresholdRight {
                        ...
                    } else if translation.width < .translationThresholdLeft {
                        ...
                    } else {
                        draggingCard = nil
                        translation = .zero
                    }
                }
            }
    }
}
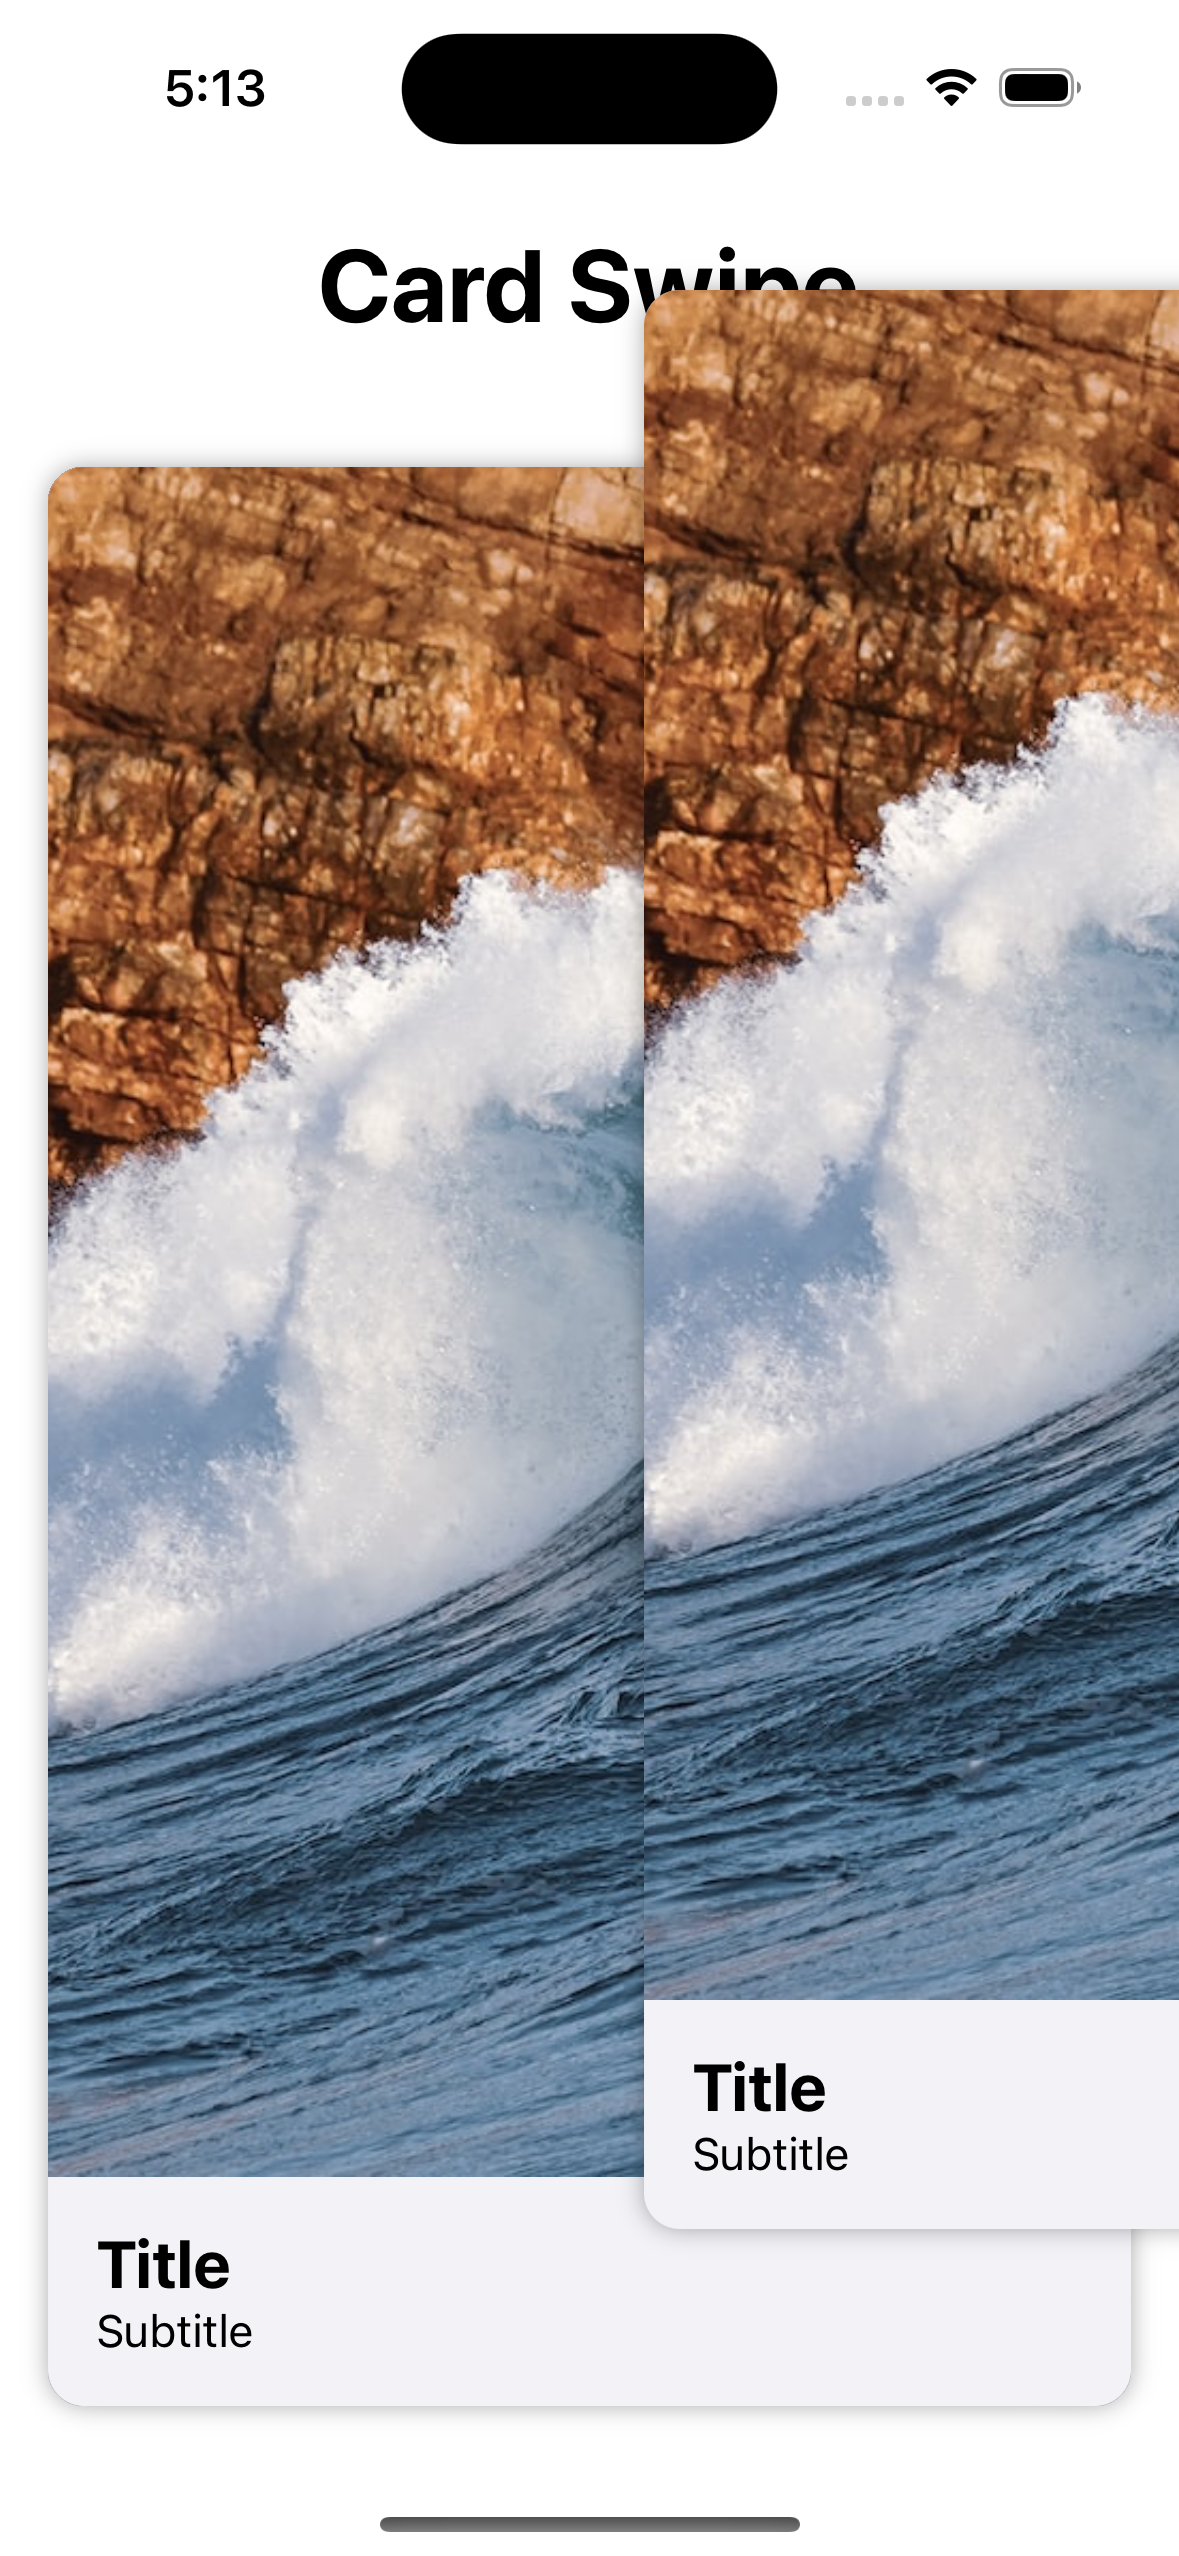
Now when we drag the first card on the stack, the rest stay behind, but wait, we've introduced a bug!
In the current state, we never remove cards from the stack, so the top card keeps coming back.
Here's our final product:
struct SwipeView: View {
    @State private var cards: [Card]
    @State private var translation = CGSize.zero
    @State private var draggingCard: Card?

    // The cards need to be a State var, but we likely want to continue injecting them
    // So we initialize the state with the injected cards
    init(cards: [Card]) {
        _cards = .init(initialValue: cards)
    }

    var body: some View {
        VStack {
            Text("Card Swipe")
                .font(.largeTitle)
                .bold()
                .padding()
            if cards.isEmpty {
                Spacer()
                Text("No more cards")
                Spacer()
            } else {
                ZStack {
                    ForEach(cards) { card in
                        CardView(card: card)
                            .offset(card == draggingCard ? translation : .zero)
                            .gesture(dragGesture(for: card))
                    }
                }
            }
        }
    }

    func dragGesture(for card: Card) -> some Gesture {
        DragGesture()
            .onChanged { value in
                withAnimation {
                    if draggingCard != card {
                        draggingCard = card
                    }
                    translation = value.translation
                }
            }
            .onEnded { value in
                withAnimation {
                    if translation.width > .translationThresholdRight {
                        if value.predictedEndLocation.x > value.location.x + .translationEnd {
                            translation = value.predictedEndTranslation
                        } else {
                            translation = CGSize(width: translation.width + .translationEnd, height: translation.height)
                        }
                    } else if translation.width < .translationThresholdLeft {
                        if value.predictedEndLocation.x < value.location.x - .translationEnd {
                            translation = value.predictedEndTranslation
                        } else {
                            translation = CGSize(width: translation.width - .translationEnd, height: translation.height)
                        }
                    } else {
                        draggingCard = nil
                        translation = .zero
                    }
                }
                // We add this on an arbitrary delay for the animation time
                // This is not the greatest solution, but it does account for animation completion
                // SwiftUI has no good way to account for animation completion at the moment
                // (or if there is, feel free to contact me to let me know)
                DispatchQueue.main.asyncAfter(deadline: .now() + 0.3) {
                    clearSelected()
                }
            }
    }

    // Here we do our cleanup, we remove the dragging card and clear all state
    private func clearSelected() {
        cards.removeAll { $0 == draggingCard }
        draggingCard = nil
        translation = .zero
    }
}
 |  |
UI Additions
Let's add one final thing to these cards. Shadowing. That will make it look like we have cards floating on screen.
Try to add shadowing yourself to the CardView. Do you notice something? If you add shadowing traditionally, it adds shadowing to all cards.
We must instead add shadowing to a single card by adding the following modifier to each CardView:
CardView(...)
    .shadow(radius: card == cards.first || card == draggingCard ? 4 : 0)
In the above example, we add shadowing to the first card and the dragging card. Do you know why? Try removing each one and see what happens.
Conclusion
There you have it! Dragging cards, swipe away, fling them off screen.
At this point, you can continue to tweak the UI to include all kinds of options, maybe buttons to also allow tapping to swipe right or left, or even adding slight angle rotation to the cards as you drag.
Happy coding!